May 26, 2026
Asphalt shingle roof installation is a meticulous process that ensures the durability and efficiency of a roof. Understanding each step is crucial for both safety and the longevity of the roofing work. This article will guide you through the standard procedures, offering valuable tips for each stage of the project. With a comprehensive understanding, homeowners and contractors alike can ensure that the roof will stand the test of time, withstand the elements, and maintain its aesthetic appeal. In the following sections, you will learn everything from preparatory measures to final inspections, ensuring an effective and long-lasting roofing solution.
1. Preparing for Installation
1.1 Evaluating the Current Roof Condition
Evaluating the current roof condition is the first critical step in the roof installation process. A thorough inspection will reveal any underlying issues that need addressing before the new installation. Typically, you will look for signs of rot, water damage, or structural weaknesses. Addressing these problems ensures a solid foundation for the new shingles, preventing potential future damage. Moreover, understanding the existing condition helps in estimating the cost and time needed for the entire project.
1.2 Choosing the Right Asphalt Shingles
Choosing the right asphalt shingles requires balancing aesthetics, budget, and functionality. Shingles come in a variety of styles and colors, allowing homeowners to select a design that complements their property. However, it's important to consider durability and warranties, which can differ significantly between brands and types. According to Bob Vila, asphalt shingle roofs generally last about 15 to 20 years, so selecting high-quality shingles can make a substantial difference. Additionally, it's wise to consult with a roofing professional who can guide you in choosing shingles that are apt for your climate zone and roofing structure.
1.3 Gathering Necessary Tools and Materials
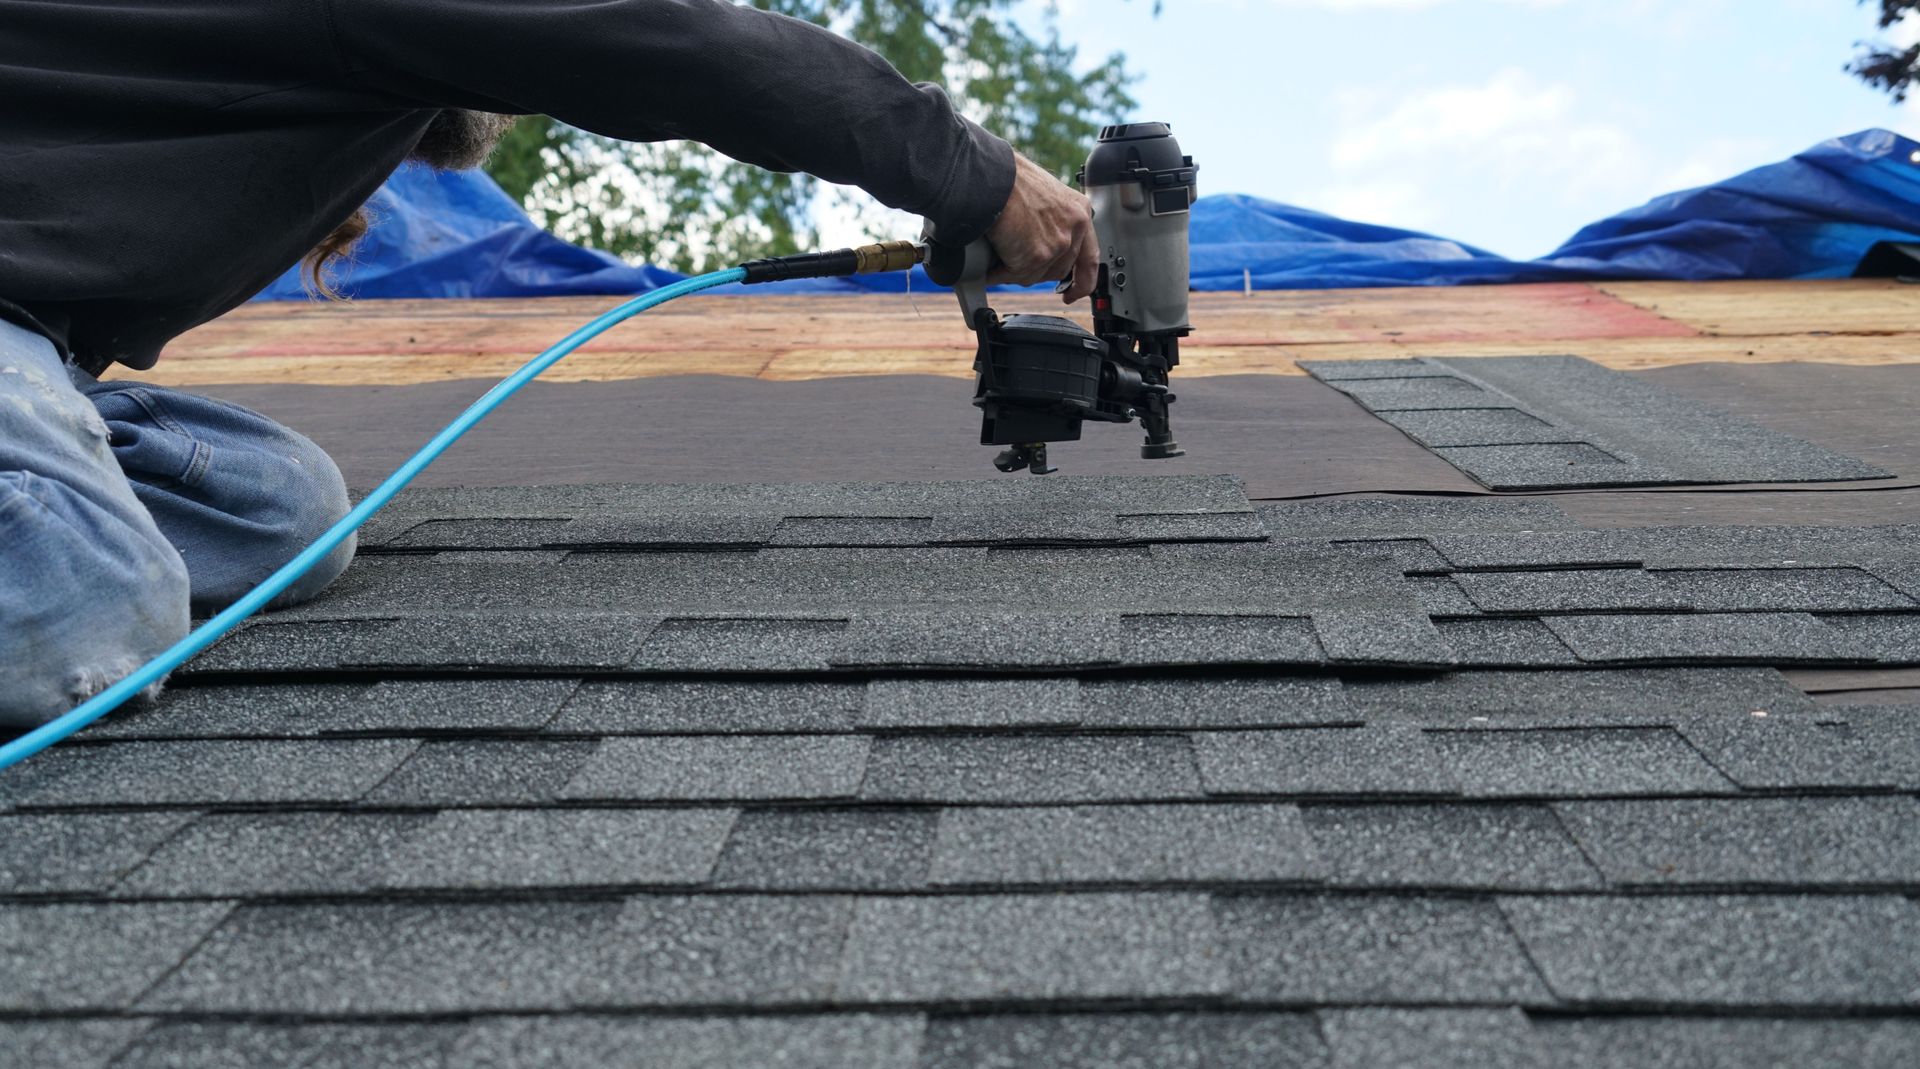
Proper preparation involves gathering all necessary tools and materials before starting the roof installation process. Essential tools include a roofing nailer, ladder, shovels for old material removal, and safety gear. Ensuring that you have quality materials not only quickens the pace of work but also increases the overall quality of the roof installation. Prepare in advance and create a checklist to avoid multiple trips to the hardware store. Having everything on hand makes the process more efficient and helps in maintaining focus on the task at hand.
1.4 Ensuring Safety Measures
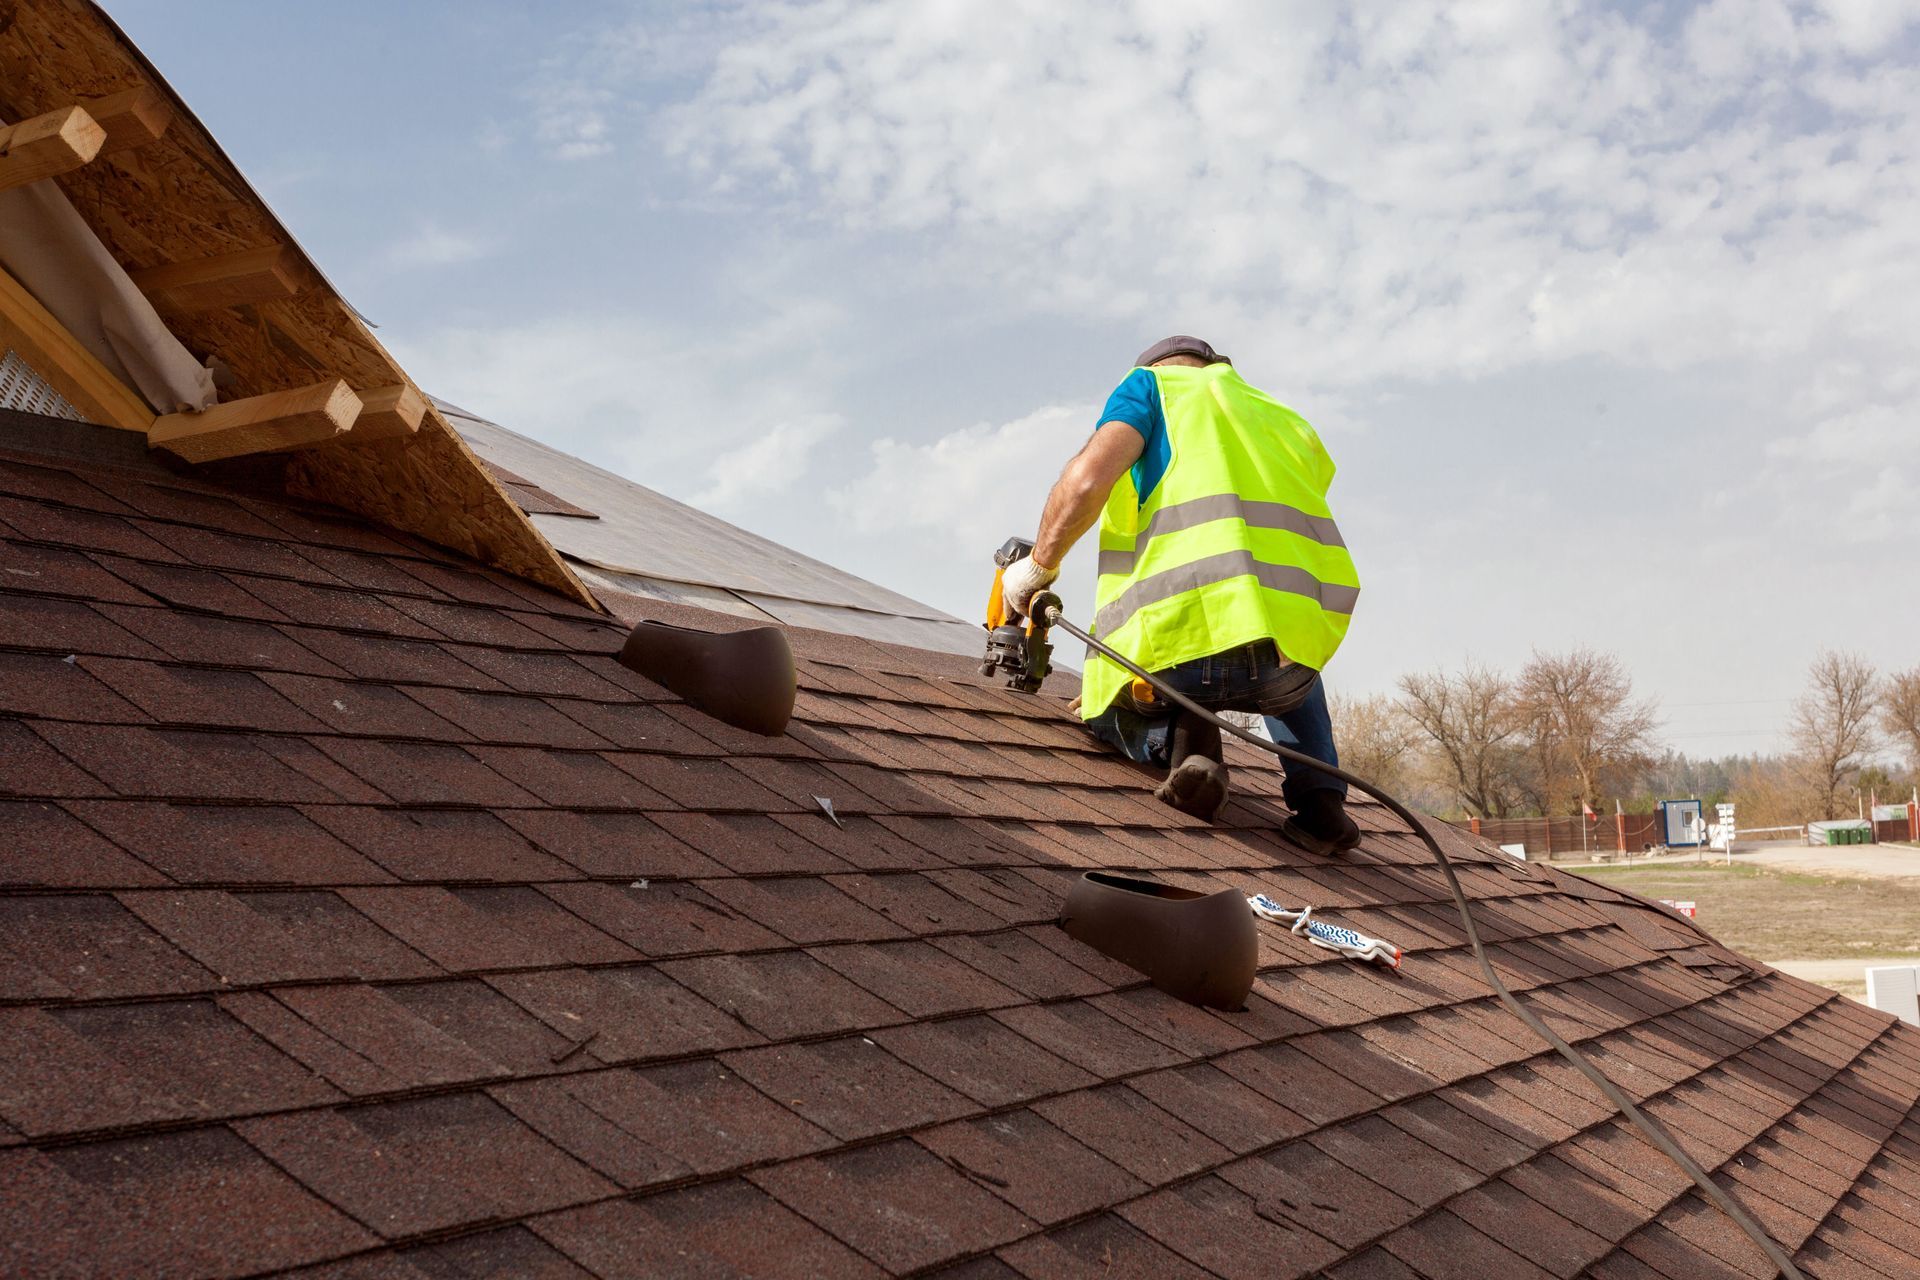
Safety measures are paramount in roof installation due to the inherent risks involved with working at heights. While personal protective equipment, such as gloves and helmets, is necessary, additional training on ladder safety and fall prevention can be beneficial. Washing or brushing the roof deck to prevent slips, using brackets and restraints, and securing ladders properly should be part of the preparation phase. Implementing strict safety protocols ensures that both workers and homeowners remain unharmed throughout the process. These precautions not only safeguard individuals but also promote focus and quality work.
2. Removing the Old Roof
2.1 Inspection of the Old Roof
An initial inspection of the old roof helps in understanding the magnitude of required repairs. This step is crucial to identify problem areas that will influence the removal strategy. Look for broken or curled shingles, as these could signify underlying roof damage or rot, potentially increasing the time and cost involved. Use this opportunity to assess the existing underlayment and decking conditions, as they form the foundational base of new installations. Understanding the current roof condition helps in anticipating the level of labor and resources needed for the complete tear-off.
2.2 Stripping Off Existing Shingles
Stripping the old shingles is a labor-intensive but necessary step in preparing the roof for new shingle roof installation. While some opt for a second layer of shingles to avoid stripping, doing so can compromise the roof's structural integrity. The removal process involves carefully stripping shingles without damaging the existing roof deck. Special tools such as a roofing shovel or a fork can make the process more manageable. A thorough cleanup of this stage reduces debris and ensures a clean surface for new work.
2.3 Cleaning the Roof Deck
After removing the old shingles, the roof deck must be cleaned and prepared for further improvements. A clean deck provides a better surface for underlayment and shingles to adhere to, ensuring long-term durability. Remove any nails, staples, or remaining bits of shingles, taking care not to harm the deck surface. This meticulous cleaning phase ensures the next steps such as underlayment application can proceed smoothly without hinderance. Finally, cleaning also allows you to re-evaluate the deck for damages that might have been overlooked initially.
2.4 Repairing Damaged Roof Decking
Repairing any damaged areas of the roof decking is critical before proceeding with further steps. A sound deck forms the basis for an effective roof, preventing future leakages and structural issues. Check for any signs of water damage, mold, or rot, replacing sections of the decking if necessary. Use suitable replacement materials that match or enhance the existing deck quality. Making these repairs ensures the roof's overall integrity and longevity, serving as a fundamental step in the entire roof installation process.
3. Installing the Underlayment
3.1 Choosing the Right Underlayment
The type of underlayment used can vastly affect the roof's performance and longevity. It acts as an added layer of waterproofing, providing an additional barrier against potential leaks. Options include felt, synthetic materials, and self-adhered membranes, each with distinct advantages and limitations. Consulting with roofing professionals helps in selecting the right material suitable for your climate and budget. Proper underlayment is crucial in extending the roof's lifespan, adhering strictly to the quality expectations mentioned by Bob Vila, where the typical asphalt shingle roof can last up to 20 years.
3.2 Weather Barrier Installation
Installing a weather barrier provides extra protection against harsh weather elements, ensuring the roof's durability. These barriers are installed on the roof deck before the underlayment, preventing ice and water infiltration. Correct overlap and sealing techniques offer a seamless barrier, particularly crucial in roofs susceptible to ice dams or heavy rain. This step requires careful planning to ensure full coverage and effective insulation. A well-installed weather barrier contributes significantly to the roof's overall functionality and resistance to adverse climatic conditions.
3.3 Securing the Underlayment
Securing the underlayment correctly is vital for preventing issues that could compromise the roof's integrity. Nail or staple application, guided by manufacturer's specifications, ensures that the underlayment remains stable under shingles. It's essential to avoid wrinkles or bubbles in the material, which can affect shingle installation and adhesion. Consistent inspections through this phase can rectify any misplacement or errors, averting complications later during shingle application. By investing the necessary time and precision in this step, a secure and impermeable foundational layer is established.
3.4 Addressing Roof Valleys and Edges
Roof valleys and edges are critical areas that require special attention during underlayment installation. These areas often experience concentrated water flow, necessitating robust waterproofing measures to prevent leaks. Customized techniques, such as doubling up underlayment layers or using special materials, help in creating clean lines and effective seals in these complex areas. Regular inspections ensure that gaps or weak spots are promptly identified and addressed. Proper handling of these sections reduces the likelihood of water infiltration issues, fortifying the roofing system against potential weak points.
Through a comprehensive understanding of the asphalt shingle roof installation process, homeowners and contractors ensure that each step aligns with both functional and aesthetic principles. Emphasizing preparatory evaluation, meticulous installation techniques, and effective finishing procedures guarantees a durable, efficient roofing system. The outlined stages provide a solid foundation for novices and seasoned professionals alike, promoting successful and long-lasting roofing solutions. Ultimately, integrating this knowledge secures investment, enhances property value, and upholds high-performance expectations over the roof's lifetime. If you're looking for a reliable roof installation, contact Wright Way Contracting today.